I transformed a simple little lampshade and the result was this fun little lamp!
So Easy, So Fast!
I found this Lamp at a discount store for $4.99! yep $4.99.
It is a great solid wood lamp base in a gorgeous tobacco green color! The shade was just a plain boring white shade. But I'm going to change that!

I'll cover it in a fun harlequin tissue paper that I had in my gift closet!
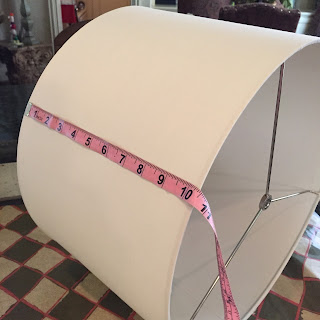
First measure the height of the shade, then cut 2 pieces of tissue to fit the diameter of the shade. I allowed ½ inch extra on the edges to fold under the rim of the shade.I lined up the pattern (the repeat) so it would match up. *Remember it is tissue so it's not going to be perfect.

*FYI -This paper was not long enough to go all the way around in 1 piece so I glued 2 pieces together, but this will leave 2 seams on the shade instead of 1. It looked just fine with 2 seams. Just make sure you start your seam directly over the lamp shade seam so they line up evenly.
To attach the tissue paper to the shade I used Elmer's wood glue. Any glue works - this is just what I had handy. I watered it down to make it thin enough to lightly paint on to the shade. I also painted a thin layer on top of the tissue. *Not necessary though.
It will have a light crinkly effect because the paper is thin. I like it. I also used a cheesecloth to gently pat the paper onto the shade.
 To do the edges of the shade, Paint glue along the inside rim then wrap the paper along the edge and pinch the ½ inch excess to seal it under the inside of the rim. Pinch and tuck.
*See the nice rolled look on the inside of the rim of the shade.
Here is the finished shade lights out. I love it! It really looks fun, and adds a little surprise in the room.
Lights on! Ta-Da... It really has a nice warm glow since the paper has such warm colors.
This took about 40 minutes.


