Total Pageviews

Thursday, June 1, 2017

New life for a lampshade - June's DIY

I transformed a simple little lampshade and the result was this fun little lamp! 
So Easy, So Fast!
I found this Lamp at a discount store for $4.99! yep $4.99. 
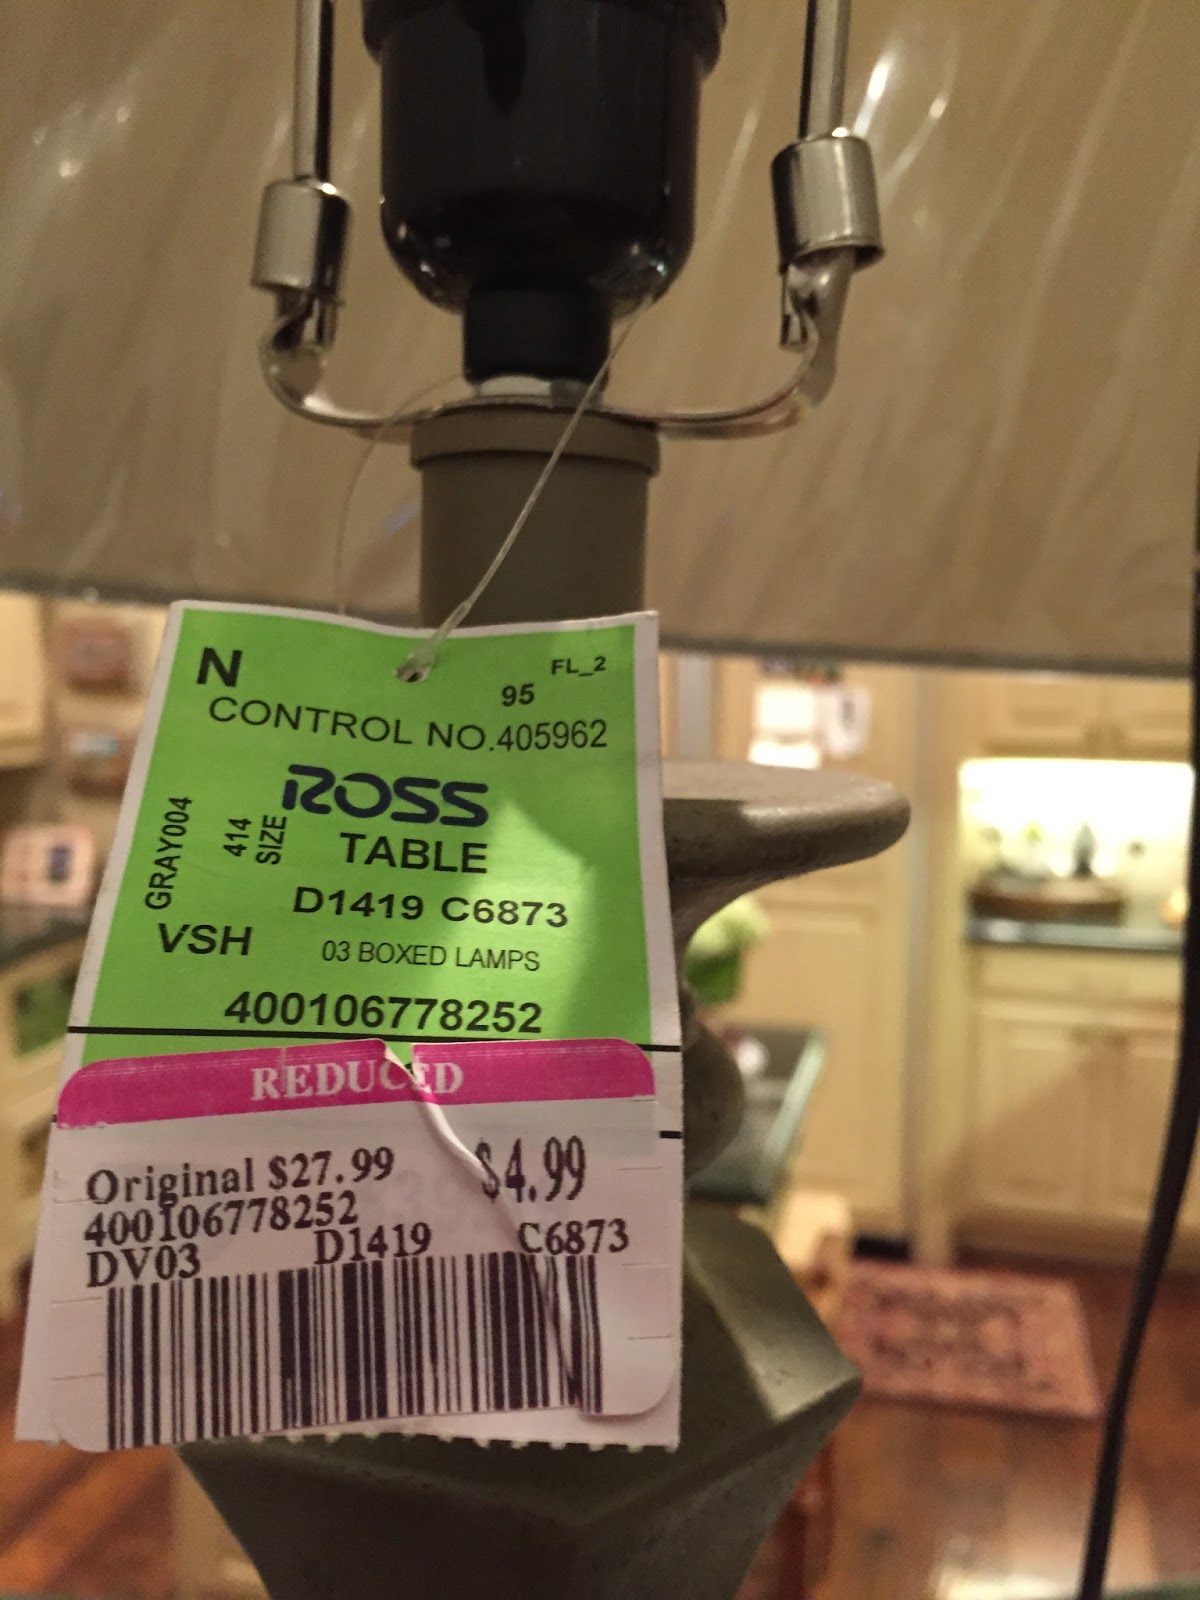
 It is a great solid wood lamp base in a gorgeous tobacco green color! The shade was just a plain boring white shade. But I'm going to change that!

I'll cover it in a fun harlequin tissue paper that  I had in my gift closet!
First measure the height of the shade, then cut 2 pieces of tissue to fit the diameter of the shade. I allowed ½ inch extra on the edges to fold under the rim of the shade.

 I lined up the pattern (the repeat) so it would match up. *Remember it is tissue so it's not going to be perfect. 
*FYI -This paper was not long enough to go all the way around in 1 piece so I glued 2 pieces together, but this will  leave 2 seams on the shade instead of 1. It looked just fine with 2 seams. Just make sure you start your seam directly over the lamp shade seam so they line up evenly. 
To attach the tissue paper to the shade I used Elmer's wood glue. Any glue works - this is just what I had handy.  I watered it down to make it thin enough to lightly paint on to the shade. I also painted a thin layer on top of the tissue. *Not necessary though.
It will have a light crinkly effect because the paper is thin. I like it. I also used a cheesecloth to gently pat the paper onto the shade.


To do the edges of the shade, Paint glue along the inside rim then wrap the paper along the edge and pinch the ½ inch excess to seal it under the inside of the rim. Pinch and tuck.
*See the nice rolled look on the inside of the rim of the shade.
 Here is the finished shade lights out. I love it! It really looks fun, and adds a little surprise in the room.
Lights on! Ta-Da... It really has a nice warm glow since the paper has such warm colors.
 This took about 40 minutes. 

Thursday, May 4, 2017

Corking a Bar Backsplash - May's DIY


I hated my plain Bar area, and how cluttered it always seemed. So I decided to give it a new backsplash with corks. This way I could keep the "Bar" theme. As you can see below it was very plain.


Before you start,  gather your corks. Lots of them! I went to Ebay. I ordered from 3 different sellers to get a variety of used and unused corks from various restaurants.  
Variety is key with this project. Some used, some new, different wineries, etc. 


My wall was approx: 16 x 59 inches long. That's 70 corks per row and I have approx: 12 rows. That's about 840 corks. +plus the edges that needed cutting. I ordered 1400 corks so I could pick and choose the ones I wanted. 

Now start laying out a pattern you like. I went with  2 vertical - 2 horizontal. I also went with the same winery, and same size cork in pairs on every 4th row. (I wanted to showcase this winery,  Elizabeth Spencer, since it's a personal favorite) Then I just selected pairs of random corks that were the same length and width. Each individual row should all match in size, all the way across your backsplash.       
You will need to cut some corks for the edges and tight corners. Soak a batch in hot water for 20 minutes and they are easier to cut. I used a paring knife and small cutting board. I also used a hot glue gun to attach them to the drywall. Yes - directly to the drywall!
 Here's the plain before wall.  It had texture on it, but plain drywall is fine.
You can see I have started a pattern. The corks need to be fitted fairly tight together for a perfected look. Take your time and make it fit nicely. You can see the right corner corks had to be cut to fit.

This project goes really quickly! 
Took about 35 - 40 minutes after I picked my corks to get to this stage.

 Notice the bottom row also had to be cut down to fit the edge seamlessly.
So after about 3 hours it was finished! Hot glueing the corks made it go very quickly. 
Some of the corks fit so tightly they really didn't even need glue!  


So here we are without my glasses and bottles. Nice and neat.


I hope you have fun corking your bar backsplash! It's a quick DIY that can be done in a day in time for an evening cocktail. 


It really added a lot of warmth and color and interest to that corner. I love it!